Pages

 photo img_03.jpg  photo img_04.jpg  photo img_06.jpg  photo img_05.jpg  photo img_07.jpg

"A gourmet who thinks of calories is like a tart who looks at her watch." - James Beard


AOL Ad

Monday, November 19, 2018

10 Craft Beer Questions with Storm Stayed’s Justin Bélanger

This post comes from Matt Brown, the Beer Baron. Follow him at @geekcanuck


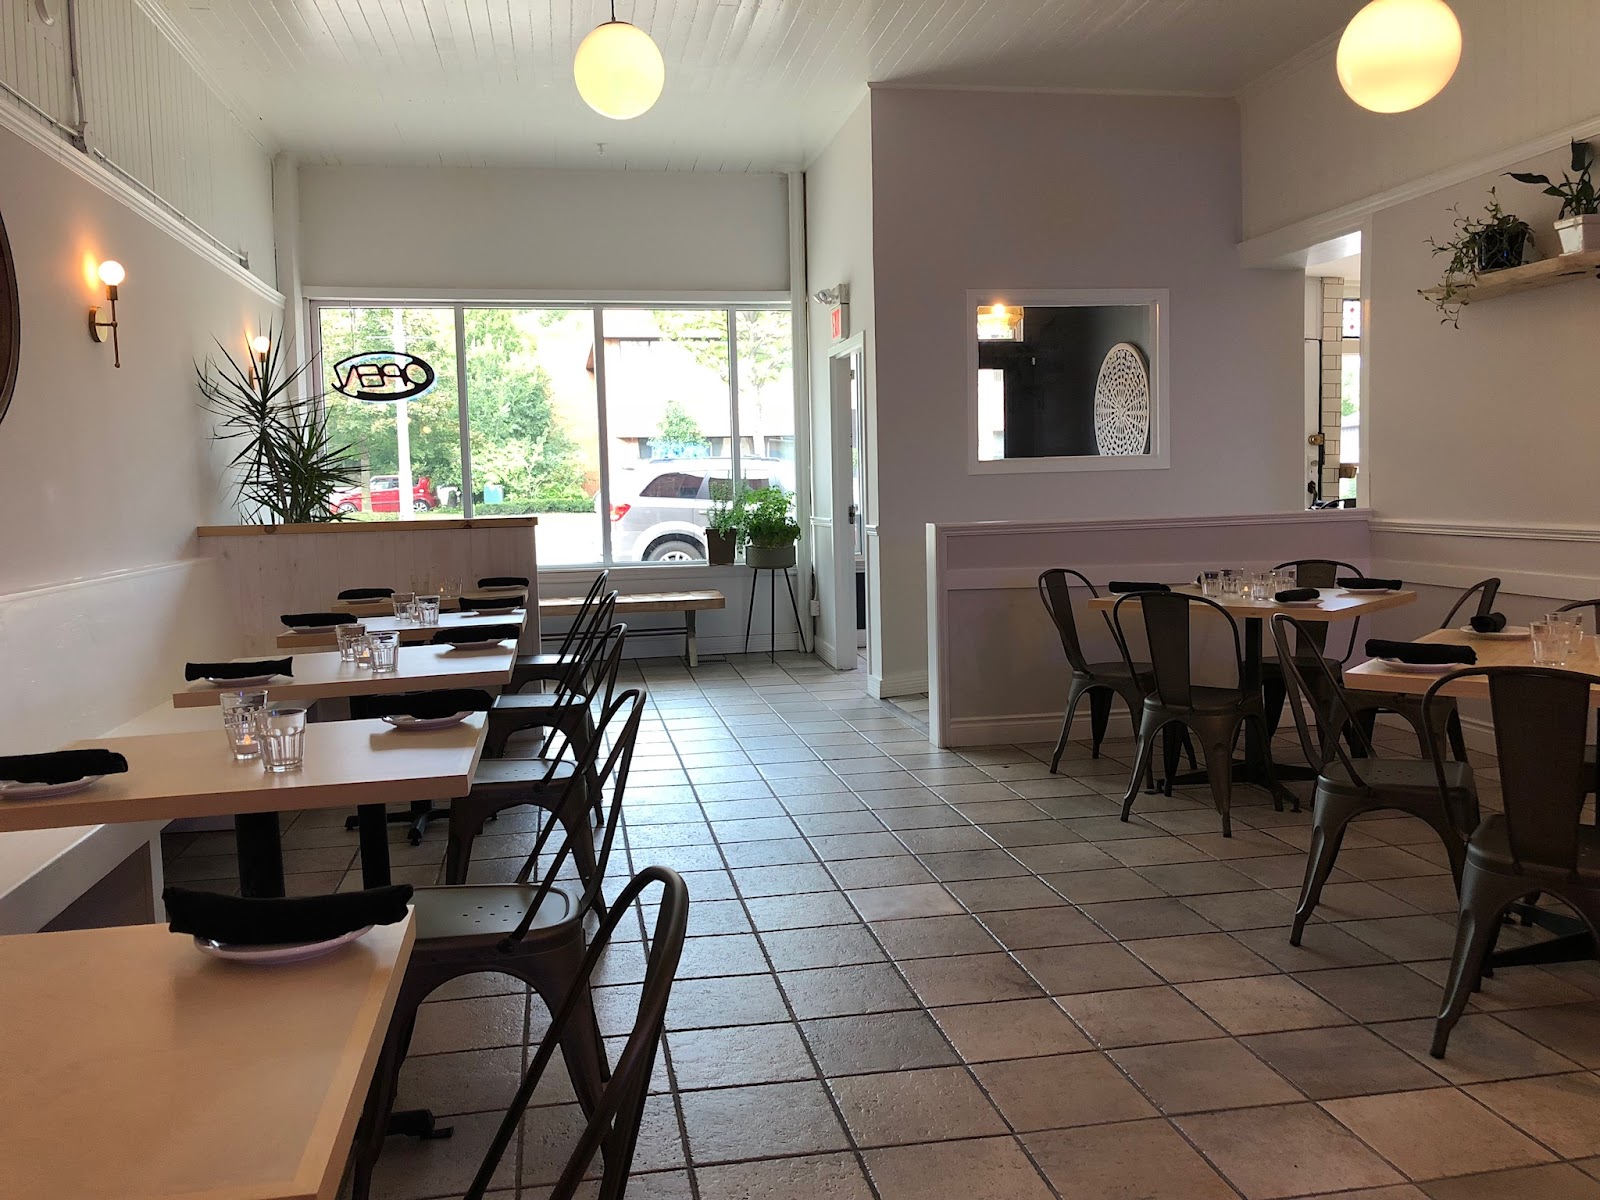
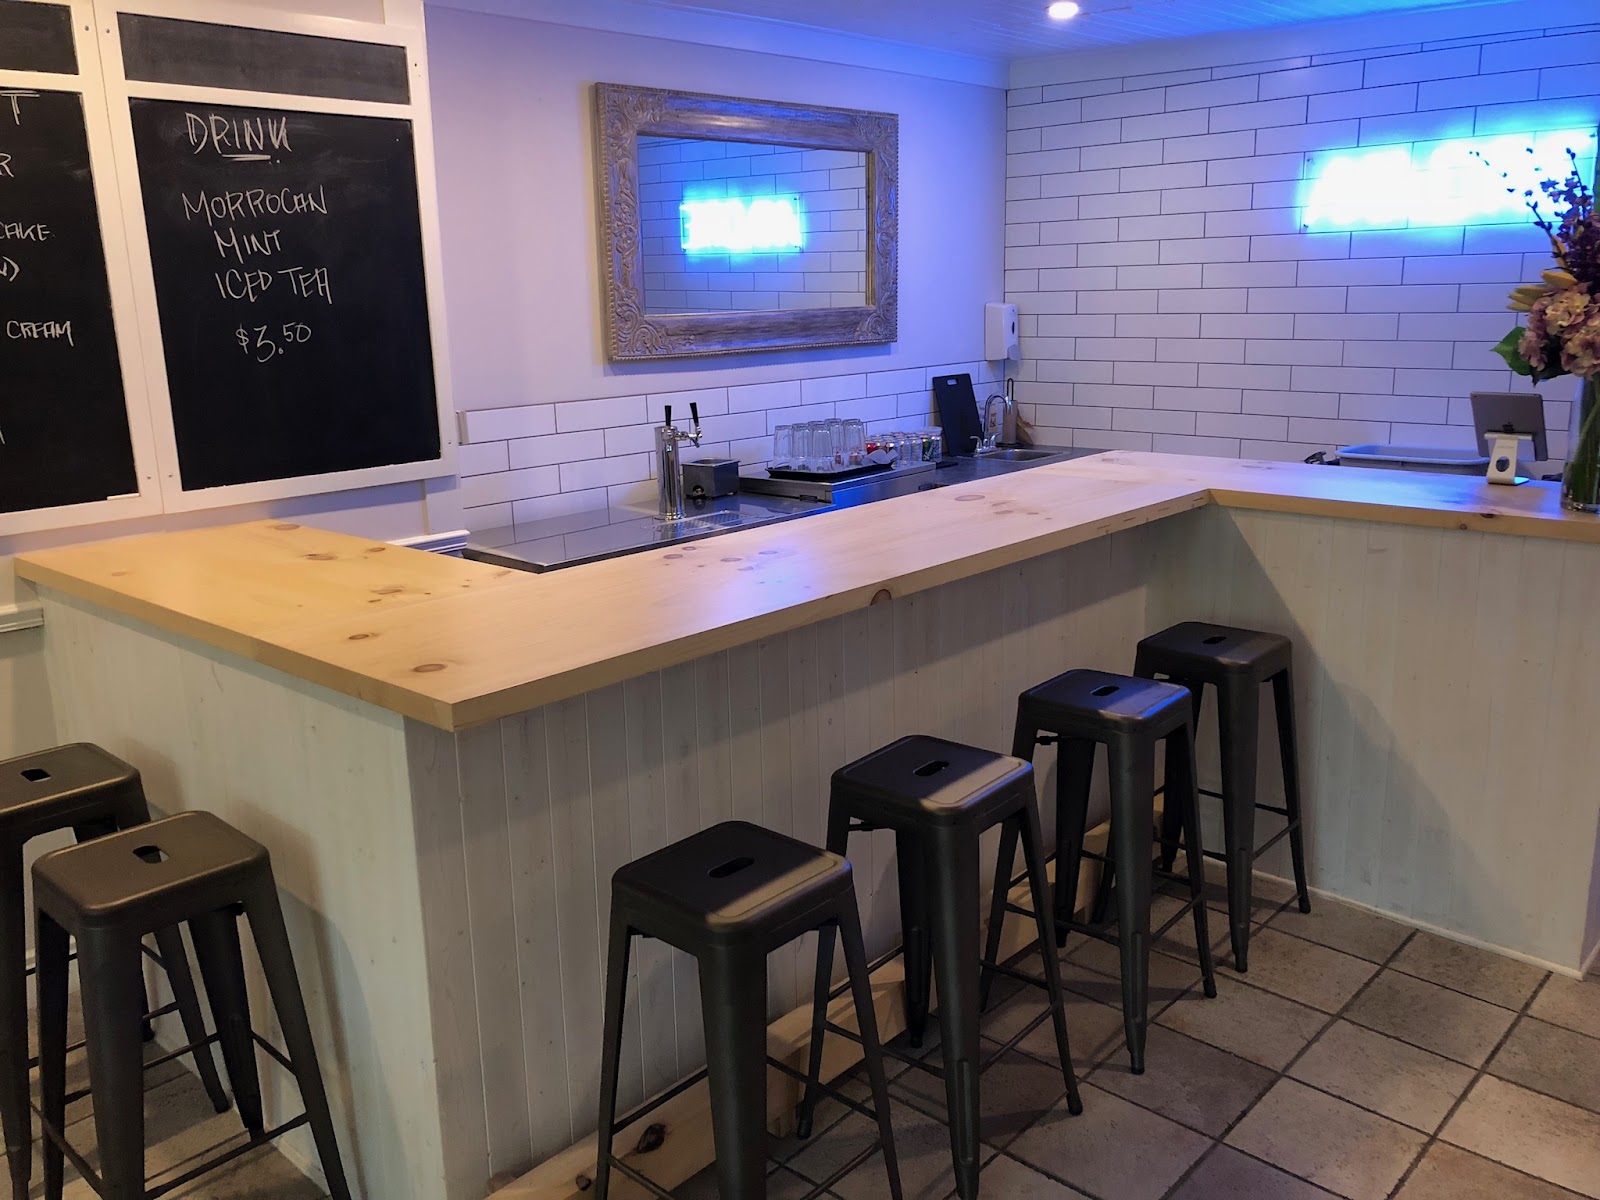
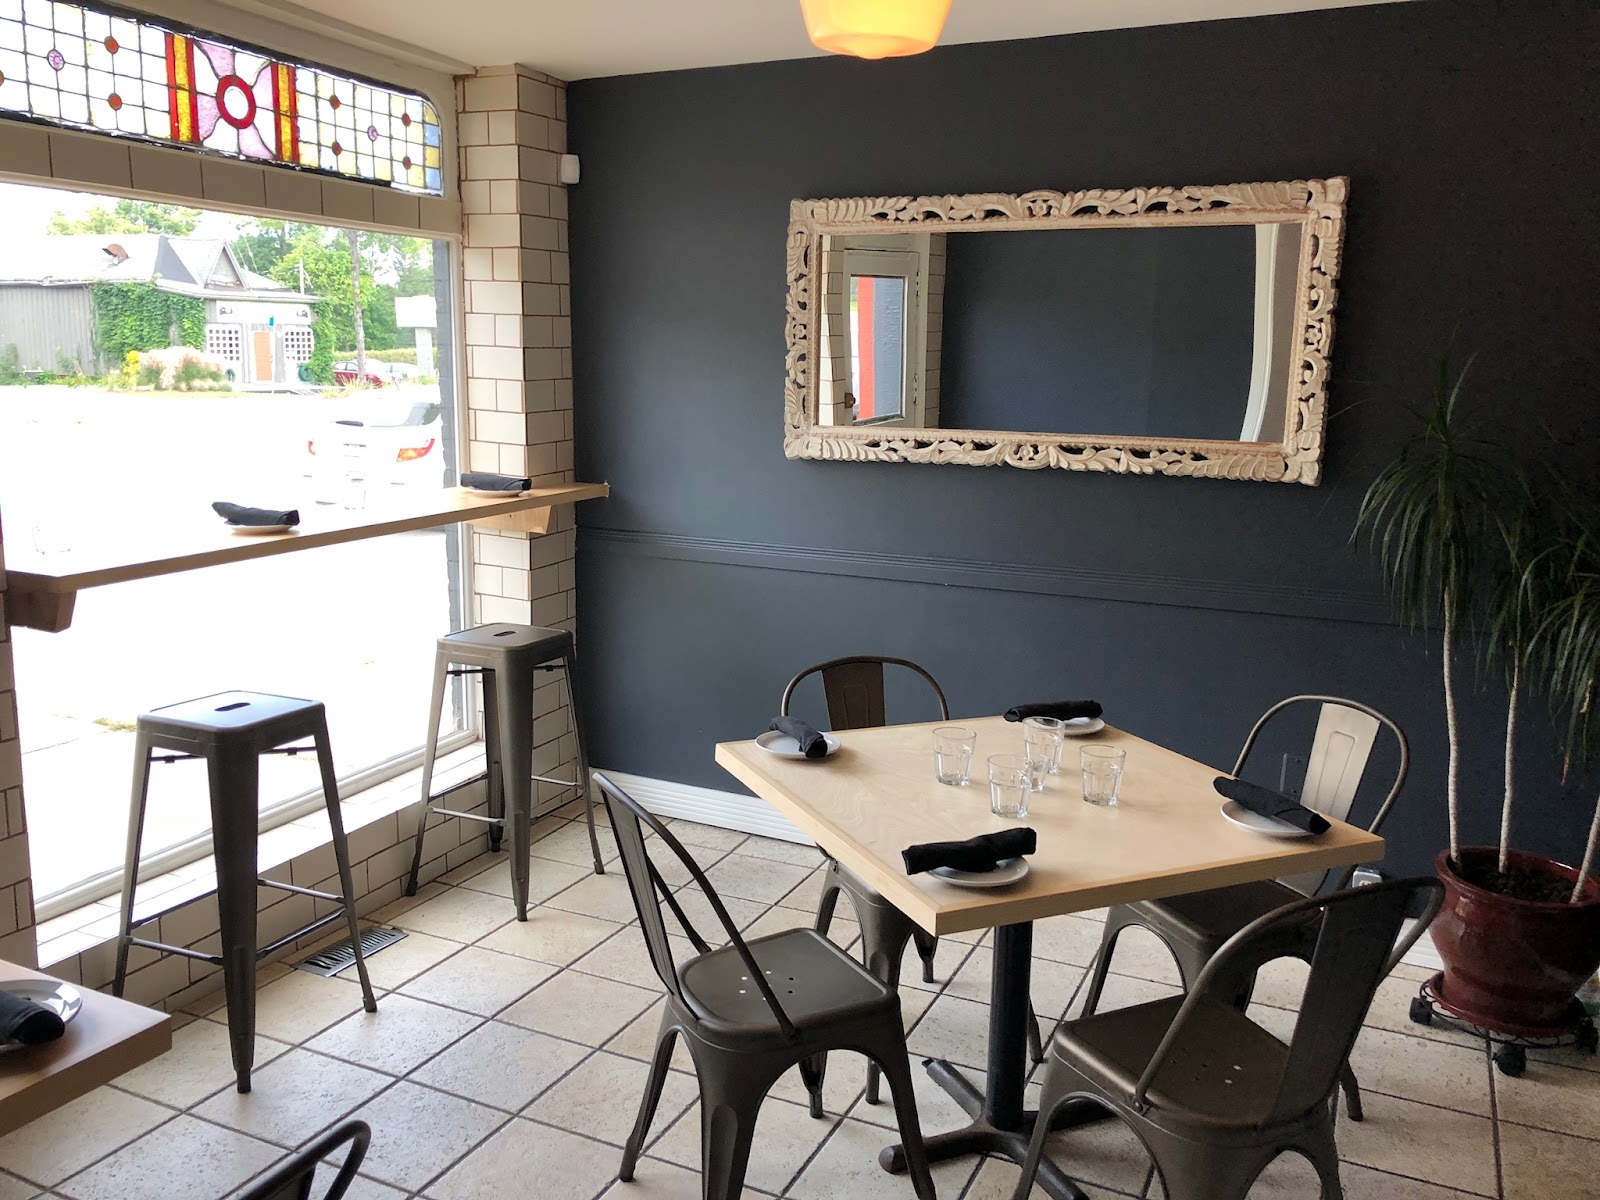
Opened in late 2017, Storm Stayed Brewing Company has quickly become one of my favourite craft beer spots in the city thanks to its modern but welcoming beer hall vibe, friendly and knowledgeable staff, unique location (169 Wharncliffe Road South in London’s Old South, whereas all the other breweries in the city are currently in the east end) and, of course, great craft beer. Aside from their own broad selection of craft beer, they also have a couple of rotating guest taps and a selection of wine and cider, which makes it an ideal stop for the Clockwatching Tart too.

I’m proud to kick off my new 10 Craft Beer Questions feature with Justin Bélanger, brewer and co-owner of Storm Stayed Brewing Company.

1. What was the first beer you tried that really opened up your mind to the idea that beer could be special? When did you first have it and how did you discover it?

The first beer that really got me to enjoy beer as a drink was probably Tankhouse by Mill Street. It was the first flavourful beer that seemed like it was brewed to be enjoyed and not just consumed quickly while cold. I first had this beer while looking for something to drink while grading lab reports, a job that needed liquid support.


2. What was your go-to style of beer five years ago? And what is it now?

Five years ago, my go-to style would have been an IPA everyday. Hops and more of it! That was probably one the reasons that made me brew more often, so that I could get those great fresh hop aromatics. Today, my beer of choice would be an Irish Red or a Pilsner, great beers with subtle flavour that compliment food instead of overpowering it.


3. How did you get into brewing?

I got into brewing because I thought the science behind it was interesting, and I think that the science has been what has kept me interested in it as a hobby and now as a career. What I love about it is how small tweaks in the water chemistry or fermentation temperature can drastically change a recipe.


4. What was your most epic fail as you were learning to brew and what did you learn from it?

During my early homebrewing experiments, I thought it would be a great idea to use brown sugar (in large quantities) to help boost the alcohol content. Well, the brown sugar didn’t fully ferment out and had a sickly sweetness that stopped you from drinking more than a sip or two. I learned that if you want to brew good beer, you need healthy yeast.


5. When did you decide to open Storm Stayed and what made you decide to choose Old South as a location?

Back in 2010, I did a bike trip across Canada and I would visit pubs and breweries as I biked along. I just loved the atmosphere and camaraderie, and that has followed through to today. The beer scene is such a supportive environment, brewers helping others whether for ingredients or questions. Storm Stayed was my effort to join a great group of people (I was tired of the grind of working for a large organization). While planning our brewery, we wanted to have a community-oriented business and to do that, we needed to be in one of the neighbourhoods. We considered Old East, which already houses most of London’s beer scene, Old North, and Byron; but the location that really drew us was Wortley Village. Unfortunately, there weren’t any buildings available in the village that would have been suitable for a brewery but in the process, we found our great location (still in Old South, but now located in The Coves).


6. What Storm Stayed beer are you most proud of and why?

I’m really proud of Sunburst and Patina. Sunburst is our New England-style Pale Ale and it has a low bitterness which makes it smooth and easy to drink but also has nice grapefruit aromatics. Our Patina is my version of an Irish Red and it has a nice caramel and slight roast character -- it makes for a great campfire drink.


7. If you could have created any specific beer from the past 20 years, what would you choose and why?

Right now, I’m really digging pilsners and have been looking for them everytime I’m out. Both Vim and Vigor by Tooth and Nail and Bellweiser by Bellwoods are ones that if I see it on tap, it’ll be the first and last beers of the evening. Who knows, maybe we’ll see a pils on tap at Storm Stayed in the future.


8. Is there anything specific about Storm Stayed that you think makes it appealing to different demographics?

The great thing about Old South, Wortley, and The Coves area is the great diversity in our population. We want our space to feel safe and welcoming and we’ve tried to make an accommodating environment that everyone could enjoy.


9. What is your favourite thing about the London craft beer scene?


What I love most about the London craft beer scene is how close knit it is and how much everyone supports everyone. We’ve worked together on bulk-buys to help with costs, we’ve taken part in festivals together (Forked Fest, Anderson Anniversary, etc.), and we’ve even competed against each other (congratulations Equals on your bowling win, we’ll bring our A-game next time).


10. Do you have any special beers planned for the winter? Anything exciting craft beer lovers in London should be looking forward to from Storm Stayed?

If you look into the brewery the next time you’re visiting the taproom, you’ll notice a couple of stacked barrels off to the side. I am super excited about them! Experimentation was a key factor in wanting to open my own brewery and being able to use wood of different origins (red or white wine, bourbon, brandy, etc.) is a further extension of our experimental goals. Look forward to those releases around our anniversary (early January).

I’m also looking forward to doing small batch tinctures. This is something that you’ve already seen in the past (e.g. Coffeebreak), but we’ve now acquired some new equipment that’ll allow us to work on a larger scale than our pilot system.


Thanks, Justin!  

If you have any suggestions for who you’d like to see from the London craft beer scene in the next 10 Craft Beer Questions column, let us know @geekcanuck

Sunday, September 30, 2018

Short & Sweet Sunday - Chicago-Style Hot Dogs

Chicago Dog

This post is by Matt, the Beer Baron who also loves hot dogs! 

I admit to getting weirdly obsessive about odd things sometimes. It happens mostly with movies and food - both things I absolutely love. If I get a certain movie (like Aliens or L.A. Confidential, for example) in my head, I will obsess about it until I get the chance to see it again. The same thing goes for food. If I crave a certain food, it becomes a matter of when and not if I will eat it next.

Yesterday, for some odd reason, I wanted a Chicago-style hot dog, which we discovered on our first trip to Chicago a decade ago and then had again on a visit in 2013. Rather than drive the 640 kilometres to get a real one (which I briefly considered), I decided to make my own.

Chicago Hot Dog

A Chicago-style hot dog is an all-beef wiener put on a poppy seed bun, then topped (in this order) with yellow mustard, sweet green pickle relish, onions, tomatoes, pickle spears, sport peppers (pickled peppers), and celery salt. 

Most of the ingredients are pretty easy to come by except for the poppy seed bun, so I had to improvise by using a basting brush to brush melted butter on the tops of my normal hot dog buns so I could then coat them with poppy seeds.

The end result was absolutely delicious. The mix of flavours and textures is really what makes it special. While I never liked Chicago-style deep-dish pizza, I think Chicago nailed it when it comes to hot dogs. Cheers!

Saturday, September 15, 2018

Review: Pizzeria Madre


This post is written by Matt, the Beer Baron

Pizzaria Madre
London, Ontario
519-432-4333

Like beer, pizza is one of those things that can range from merely adequate to monumentally fantastic depending on who is making it. Also like beer, margherita pizza has a limited number of ingredients (flour, water, tomato, cheese, basil, olive oil), so it really relies upon the right combination of skill and equipment to be great.

I am happy to report that the newly opened Pizzeria Madre at 111 Wellington Street in London is home to some truly great pizza — including a margherita pizza that I’ve been pining away for since having it earlier this week.

Pizzeria Madre — Italian for mother, and named in honour of the mother or starter dough they use in their dough making — is a bright and nicely renovated space with a small bar and a second room off of the main dining space.


While the decor is modern and welcoming, the heart of the place is the imported Italian pizza oven tucked away in the back. A hybrid oven running on a mix of natural gas and wood, it operates in the 750-900 degrees Fahrenheit range, which means it is capable of creating crusts that are both chewy and crisp — the holy grail of pizza crusts.


We started with a green bean salad with roasted local corn, arugula, pecorino, and lemon chilli dressing. I don’t know how long they will be able to keep this item on the menu now that the local corn harvest is nearing its end, but while it is here, it is absolutely lovely, light and crisp.


As mentioned, I had the margherita, which is what I tend to order any time I’m at a new pizza place. It is such a simple pizza, which means it can’t hide its faults if it isn’t well made. Thankfully, Pizzeria Madre delivers. Their margherita pizza has a perfectly chewy yet crisp crust, fresh and alluring sauce, and deftly balanced cheese and oil. (If you don’t eat the crust, there is something seriously wrong with you.)


The Clockwatching Tart ordered one of her favourites, a patata pizza with a cream sauce under shaved potatoes, rosemary, cheese and chile peppers. While the chiles were a little hot for her tastes, the pizza itself was perfectly cooked and wonderfully delicate. (The portion size also allowed for a slice for lunch the next day.)


If it isn’t obvious by now, we both absolutely loved Pizzeria Madre — and it is only going to get better. They are currently awaiting their liquor license and hope to have it in the coming weeks. They have two draft taps and plan on serving London-made and Ontario-made craft beers, along with other craft beer selections, wine and cocktails.

The only thing that could have made my margherita pizza better would have a local craft beer to pair with it, so there is no question at all that I will be back.


Find our more about Pizzeria Madre at https://pizzeriamadre.wixsite.com/book.


Sunday, July 29, 2018

Happy Hour - The Last Word


The Last Word

I've been interested in The Last Word cocktail for quite a while. It was invented in Detroit during prohibition and seemed like something I'd really like. I had all the ingredients in my bar at home, except green chartreuse. At the time I just couldn't justify tracking down an expensive bottle for a single cocktail.

The Last Word

Then we visited Cliff Bell's in Detroit again, and I finally tried The Last Word. And I fell in love! It isn't as bitter as some of the cocktails I've tried recently, but it's herbal and a little sweet, and has a wonderful colour. 

chartreuse, luxardo, gin, lime

When I received an LCBO gift card for my birthday, I knew I'd use it to buy green chartreuse.  And I finally had all the ingredients to make my new favourite cocktail.

Here's the super simple recipe:

3/4 oz gin
3/4 oz green chartreuse
3/4 oz maraschino liqueur
3/4 oz lime juice

Pour all ingredients over ice in a cocktail shaker and shake until chilled.  Pour into a coupe or cocktail glass and garnish with a cherry, lime peel, or nothing at all. 

Since the recipe is equal amounts of each ingredient, it's easy to remember and easy to double or triple! 

Cheers!


Tuesday, June 26, 2018

Vegan Bacon

vegan bacon

Every year I take a girls trip with my cousins and sister-in-law. We head to a cottage to eat and drink and relax all weekend. I like to try to make something special to bring when I can. We have two vegetarians in the group, so this year it was Vegan Bacon!

vegan bacon

Wait, don't go! This recipe is meant to taste like bacon, but it's just made of roasted mushrooms and it's totally delicious in its own right. Meat-eaters will love it too!  My husband, the opposite of a vegan, loved it and calls it "facon".

I've adapted this recipe from Serious Eats.  The original recipe calls for roasting, then smoking the mushrooms with a chunk of wood on the stovetop. 

smoked salt

I decided that was a little ambitious for me on a weeknight, so I just used smoked salt and smoked paprika instead. The "bacon" probably isn't as smoky as it could be, but it sure is delicious!

king oyster mushrooms

The secret to making the mushrooms look like little strips of bacon is to use king oyster mushrooms.  These are usually available in Asian grocery stores, and some specialty grocery stores.  They have a mild flavour and cook to a chewy, crisp texture in the oven. 

king oyster mushrooms

If you can't find king oyster mushrooms, you can make vegan bacon bits out of smaller mushrooms using the same technique in the recipe below. 

vegan bacon

The vegan bacon will keep about 5 days in an airtight container.  If you're serving it with breakfast, you can crisp it up again in the oven for 5 minutes.  Or just serve it at room temperature on sandwiches, salads or as a snack!

Here's the recipe:

Ingredients:
4 king oyster mushrooms (about 250g)
3 tablespoons vegetable oil 
smoked salt
cracked black pepper
1 tablespoon maple syrup
1/8 teaspoon sugar
1/8 teaspoon smoked paprika
1/8 teaspoon garlic powder

vegan bacon

Directions:
Preheat the oven to 350 degrees F.  Use one large or two regular-sized baking sheets and line them with parchment paper or foil.  Spread two tablespoons vegetable oil over the parchment or foil.

Slice the mushrooms lengthwise into planks, about 1/8 inch thick (each mushroom will make about 6 slices with some scraps left over).

Lay the mushrooms on the oiled baking sheet(s) in a single layer. Then flip the mushrooms so the side with oil on it is facing up. 

Sprinkle smoked salt and pepper over the mushroom slices.  Flip again, and sprinkle the other side with smoked salt and pepper. 

Bake for 20 minutes.  Carefully flip the mushrooms and bake for 20 minutes more, watching carefully for the last 5 minutes, until they are crisp but not hard. 

Remove the mushrooms from the oven and drain on paper towels. 

Mix the remaining tablespoon of oil, maple syrup, sugar, paprika and garlic in a medium bowl.  Toss the mushrooms in the mixture and lay them out on the baking sheet again.  Return the sheet to the oven and bake about 5 minutes until the sugars begin to caramelize.  

Serve warm or store for up to 5 days and share with friends!  

vegan bacon recipe


Sunday, May 20, 2018

Lazy Deviled Eggs

lazy deviled eggs

Deviled Eggs are always a hit at parties and potlucks. My aunt's deviled eggs are famous in our family. But they're kind of a pain to make and transport, even if you have a fancy deviled egg tray


lazy deviled eggs

These lazy versions are much easier! You don't need a piping bag or any other special tools - although there are a couple of pieces of equipment that do make these especially easy, but you can make them without anything special. 

Instead of scooping out the yolks, you just slice up hard boiled eggs, season them and serve them on a cracker. It couldn't be simpler!  And you can transport the peeled eggs to your location and make them fresh on site quickly, instead of transporting piped egg halves that can get squashed.


Instant Pot

One of the things that makes this particular recipe so easy is using an Instant Pot to cook the eggs. If you don't have one, you can just hard boil your eggs the normal way, but the Instant Pot makes wonderful hard boiled eggs that never get that green line around the yolk. 


Instant Pot Hard Boiled Eggs

To hard boil eggs in the Instant Pot, use the rack.  Put a cup of water in the bottom of the pot and place your eggs on the rack. This recipe calls for only 3 hard boiled eggs to make 18 bites, but why not cook more eggs to double the recipe or have for lunch during the week?


Instant Pot Hard Boiled Eggs

If you want to hard boil a dozen eggs, just pile them on top of each other!  Close the lid and set to low pressure for 7 minutes for a creamy hard yolk. For a firmer yolk, try 8 minutes. For a jammy yolk, 6 minutes (not for this recipe, but if that's what you like, go for it.)


Instant Pot Hard Boiled Eggs

Release the pressure manually, remove the lid, and use tongs to plunge the eggs into a bowl of ice water to stop the cooking. 


The nice thing about the Instant Pot is peeling the eggs. The peels come off beautifully! I do recommend peeling them just after cooling, because the peels are a little harder to get off cleanly if you refrigerate the eggs in their shells. 


dijonaisse

Mix some mayonnaise and Dijon mustard together.


Lazy Deviled Eggs

Spread a little on 18 plain rice crackers.


Lazy Deviled Eggs

Peel the eggs and slice them into even rounds.  An egg slicer is really great to have for this step, and super cheap.  If you don't have one, carefully cut them with a knife as evenly as possible. 


Lazy Deviled Eggs

Place an egg round on each rice cracker. Sprinkle with smoked paprika, kosher or sea salt, and a sprig of dill. 

I took these to a work potluck and it was so simple to mix up the dijon mayonnaise and cook the eggs the night before, then slice the eggs and assemble the bites right there in our work kitchen. People loved that it was just a taste of deviled egg, rather than half an egg.  And you really get a lot of bang for your buck, making 18 servings out of 3 eggs!

Here's the recipe:

Ingredients:
3 hard-boiled eggs
1 tablespoon mayonaisse
1 tablespoon dijon mustard
18 plain rice crackers
smoked paprika
sea salt or kosher salt
fresh dill

Instructions:
Mix the mayonaisse and mustard together and spread on rice crackers
Slice the eggs. Place one egg slice on each cracker
Sprinkle with paprika and salt and a small sprig of dill

Enjoy! 


Lazy Deviled Eggs


Sunday, April 22, 2018

Poke Bowl 101: An Introduction to Awesomeness

This post comes from Matt, the Beer Baron.
Tuna Poke Bowl

Depending on where you live, poke bowls could be anything from a curiosity you’ve seen popping up at local restaurants or sushi counters to a mainstay part of your culinary world.

While they are ubiquitous in Hawaii, where the dish originated as a blend of Japanese and Hawaiian culinary traditions, a quick Google search shows a growing number of poke bowl shops in Toronto. Alas, in my hometown of London, Ontario, there isn’t a poke bowl shop to be found -- although I was lucky enough to discover the dish as a special at the best craft beer bar in town.

In Hawaiian, “poke” means “to cut crosswise into pieces” or even just “to cut or to slice”, and that alone should give you a pretty good idea of what the dish is and what you are in store for when preparing it. You can think of it as deconstructed sushi if that helps, but to me, the way a poke bowl eats makes it an even more satisfying meal.

For starters, the bed of rice served as the base of the bowl is warm, which gives the dish a balance of hot and cold that most sushi doesn’t have. From there, every mouthful is a wonderful mixture of salty and sweet, soft and crunchy. So, when I saw the beautiful, little piece of tuna below frozen and vacuum packed at my local Farm Boy, I knew it was time to make my first poke bowl. 


tuna


Before I got to work on all the cutting (with my slow and cumbersome but relatively effective knife skills), I got everything I needed together for a group photo:

poke bowl ingredients

First up, the marinade, so it can go back into the fridge to marinate the tuna while you do the rice and all your slicing. It was dead simple but very flavourful:


¼ cup soy sauce

2 tablespoons sesame oil

1 tablespoon grated fresh ginger root

Ginger root is one of my absolute favourite things and something I find more and more pleasing with each passing year. The lesson? Being old kicks ass. The is what is looks like:


grated ginger

And this is what the marinade looks like:

soy ginger marinade

Now, onto the star of the show: the tuna! I am by no means an expert in the kitchen or with a knife, which is why I’m the Beer Baron and not the… Butchering Baron? Anyway, I still have a few tips to share:

  1. Put the tuna in the freezer for 15 or 20 minutes. Not enough to freeze it solid, just enough to help it keep its form a little bit better and make your life easier when cutting it.
  2. Decide how thick you want to cut the pieces. If you LOVE raw tuna, then go a bit thicker at about ½ an inch (just more than a centimeter too all you hosers) and if you are new to it and want a little bit less of the raw texture or fishy taste, go smaller. 
  3. When you are cutting the tuna, pull your knife backwards towards you, starting at the heel of the blade and use the longest, sharpest knife you have. The goal is to try to make the cuts in one slice and avoid a front-and-back sawing motion.
Not all my slices were perfect, but I enjoyed the process and did ok:


sliced raw tuna

Going from the thin slices to the cubes was a little more challenging, as the tuna was getting warmer having been out of the freezer for longer, as I’m so slow, but they were decent:
raw tuna

The tuna goes into the marinade and into the fridge. 


tuna in soy ginger marinade

Start your rice cooking while you work on the rest of your cutting / poke-ing. Traditionally, you’d use short-grain sushi rice. But one of the great things about poke bowls is that there is really no right or wrong. It’s not a science like baking. I had long grain rice, so that’s what made it into my bowl.

Dice the mango:
diced mango

Slice the red onions (or leave them out altogether if they are too strong for you and you aren’t crazy about red onions like I am):


sliced red onion

Slice the jalapeno (which provide a nice bit of crunch as well as a little bit of heat):

sliced jalapeno

Chop the green onions:

sliced green onions

Slice the avocado: (I got lucky and mine was a perfect ripeness, which is a miracle unto itself. You kind of get used to picking the ever so slightly soft ones with experience, but if you want help, the internet is all about avocados: https://www.californiaavocado.com/blog/how-to-ripen-an-avocado.)

sliced avocado

Now, it’s time to assemble your masterpiece. Keep in mind that no poke bowl is perfect for everyone but do your best to make it perfect for you. If you like more or less of any one ingredient, go for it. (Also, I dumbly didn’t include cucumbers in this dish, which would have been perfect. Radishes too, for that matter.) Lay down your bed of warm rice:


rice

Top it with your marinated tuna:


Surround the tuna with the mangos and avocado:

poke bowl

And then add your final garnishes, including a sprinkle of sesame seeds and a little bit of freshly squeezed lime juice. (Don’t use the lime juice in the marinade or earlier in the process. The goal isn’t to cook the tuna with it, just add a nice hit of acid.) 

tuna poke bowl

As the Beer Baron, I was thinking that a session IPA (nothing too crazy to wreck your palate), a fruity sour, or a weissbier with tropical notes would all be nice pairings -- and they certainly would have been. In the end, I chose a Riesling, as they tend to be great with lightly spicy foods and the balance of minerality and fruitiness was a perfect complement to the balance of the poke bowl. However you make your poke bowl and whatever you pair it with, I hope you enjoy it. Cheers!


how to make a poke bowl